You know what they say, necessity is the mother of all inventions. Which was true this time also. I needed a bigger table for my cutting mat. My previous cutting area was on top of a ironing board I had made a few years back.
 |
| Old pressing cutting station. |
As you can see, it was not very large ( it is the blue diamond fabric). So I decided to make a bigger one.
 |
| What it started out as. |
Well Chunk no longer needed it, then it went into his sister's room for a year or so. Then we decided that it was too big in Her room. Which meant it ended up in the studio. I am tall so when I placed my Ironing board on top of the dresser it was not high enough. I used Mr. Wolf's muscle and raised the dresser up on cinder blocks ( I know, I know, I am a redneck). Cinder Blocks by the way are the BOMB! They can be used for so many different things, but that is a different post.
I do not have a picture of a complete before. Sorry. Take my word that the pressing/cutting station was too high..and imagine me going grrrrr!
 |
| Drawers where removed. |
First I removed all the drawers.
 |
| Support added. |
Then I added supports blocks on the back using screws. I tried the nails and hammer, yea, I like power tools better. :-D
 |
| Added "extensions". |
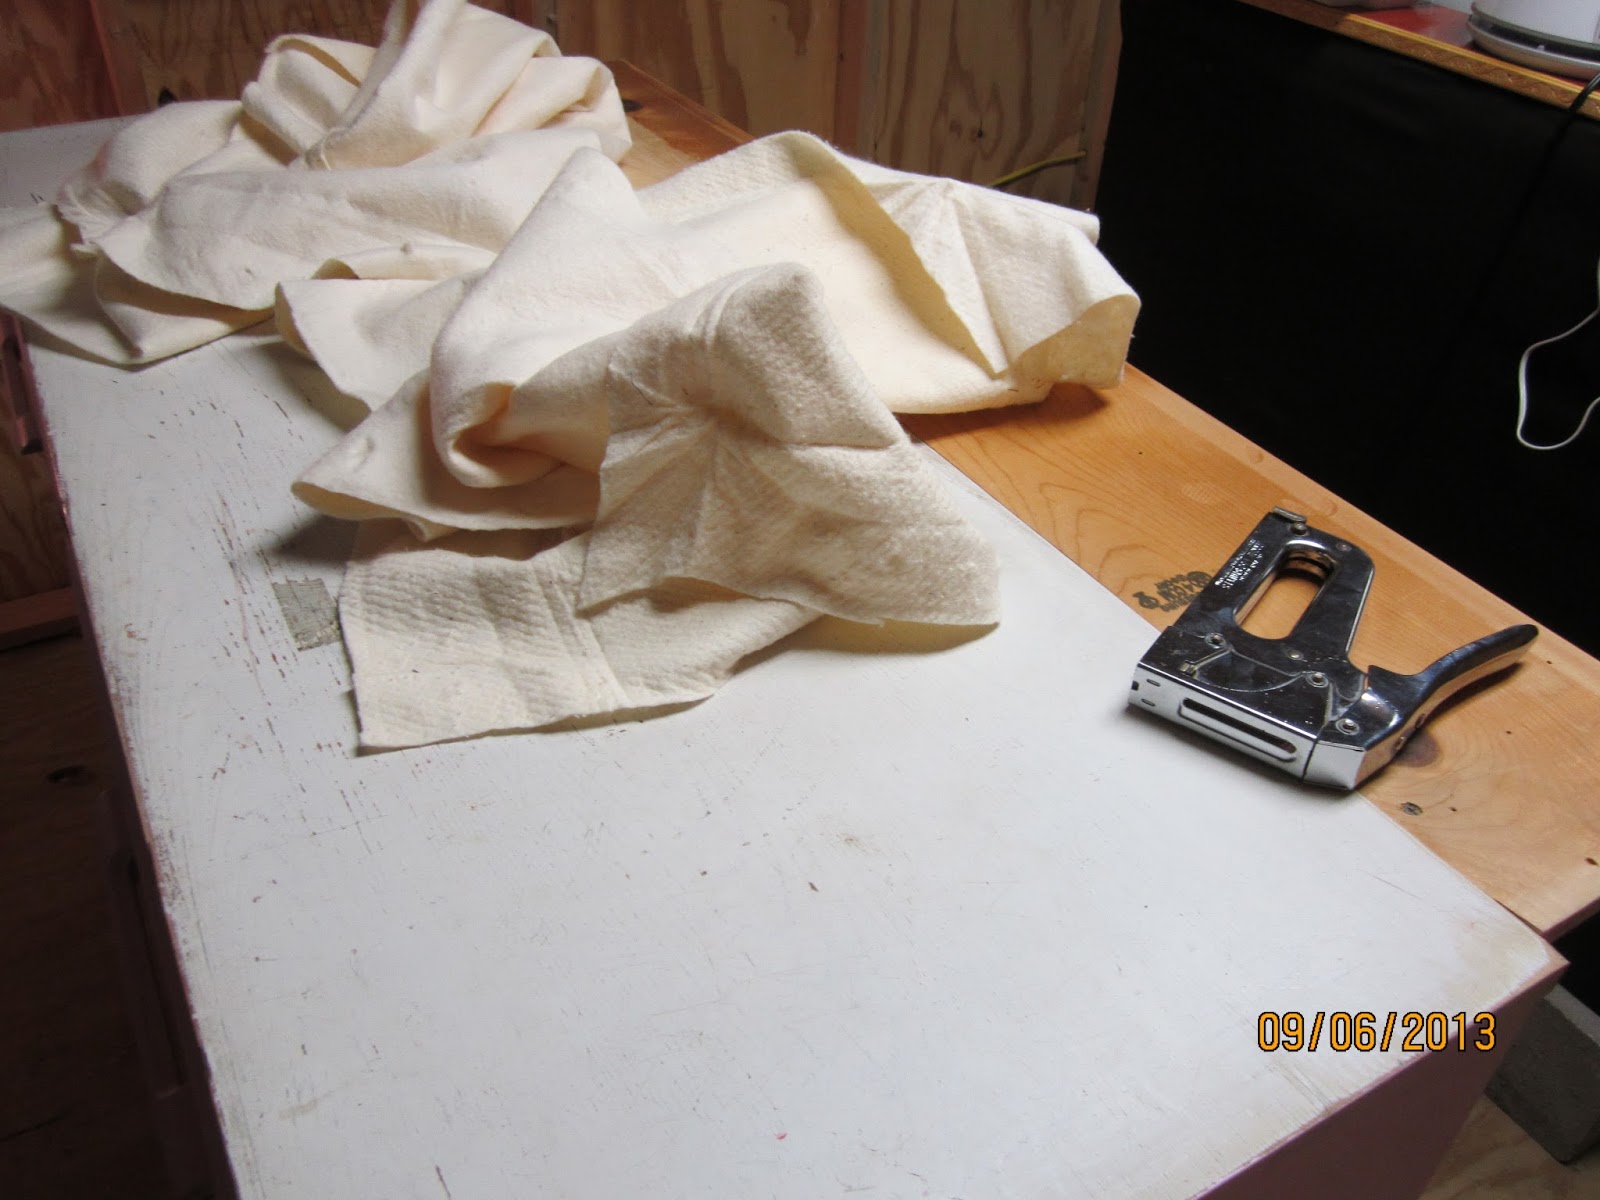
 |
| Sanding. I then took some left over paint and painted the whole thing. |
Then the whole thing was brought outside and sanded.
 |
| Dry brush painted. |
 |
| Drawers getting painted |


I hope you enjoyed my very first tutorial. Now it is off to bed for me!
No comments:
Post a Comment